PROJECT DETAILS
| Status | FO |
|---|---|
| Started | 12/21/2022 |
| Completed | 5/25/2023 |
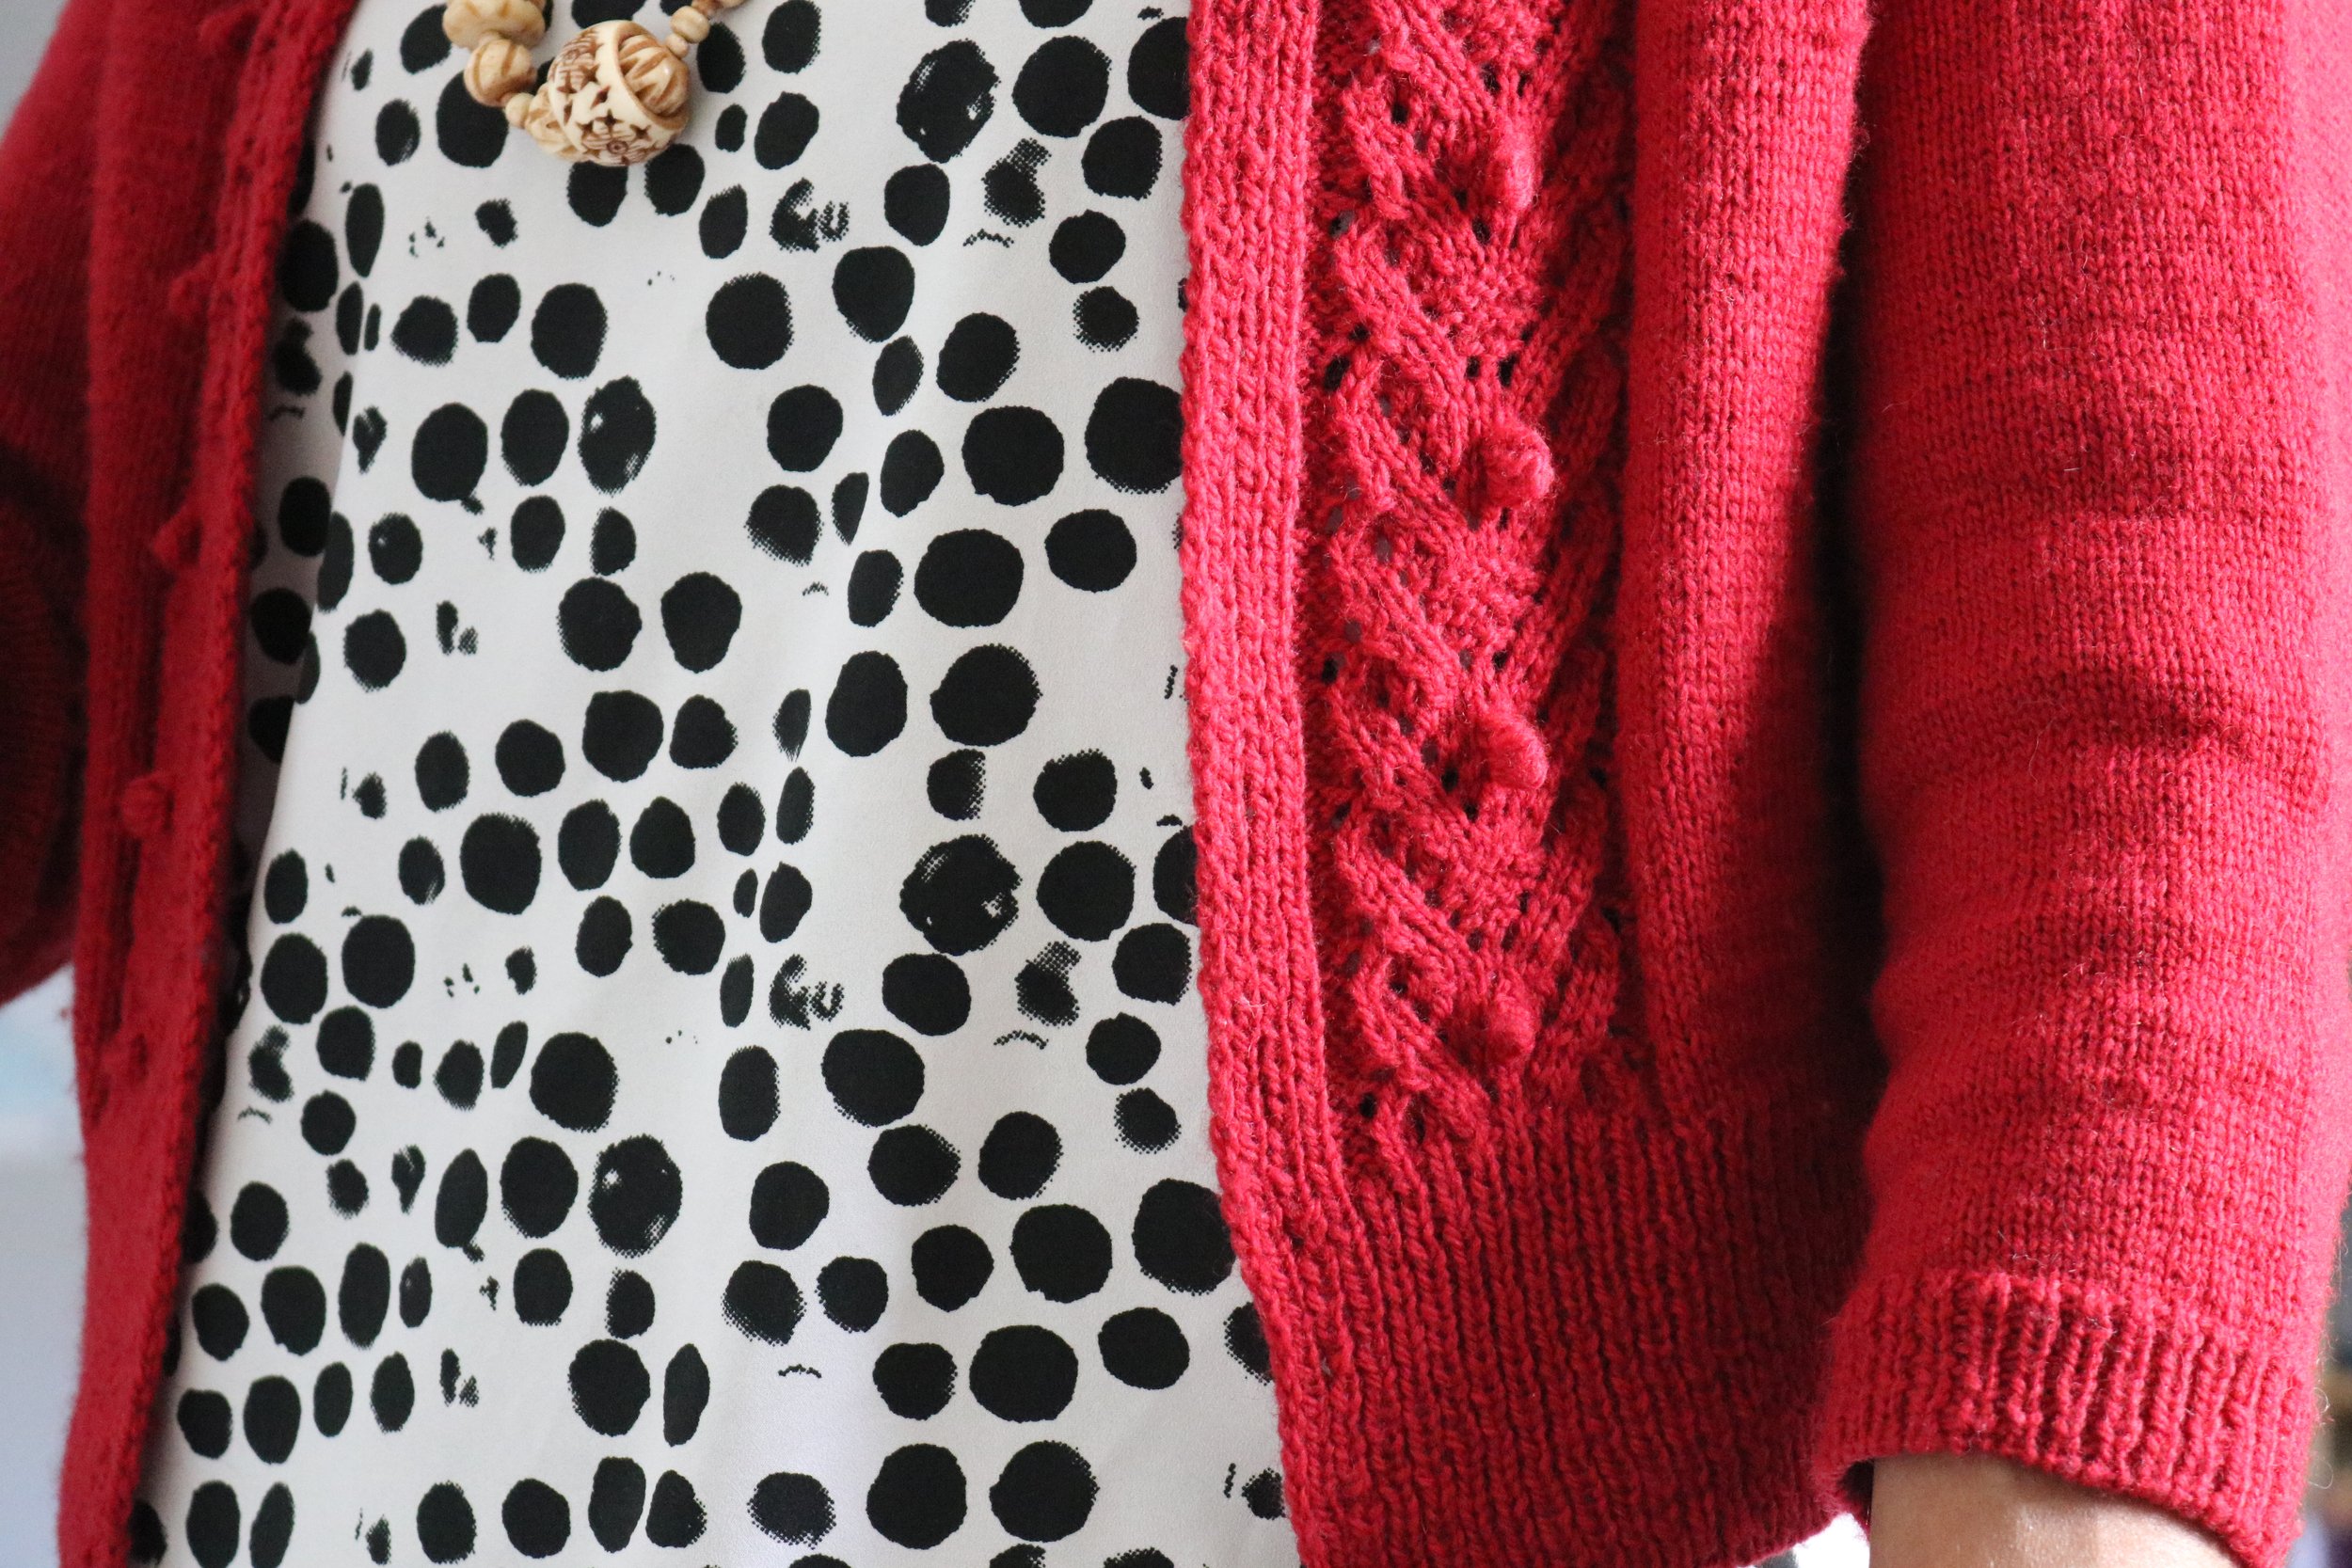
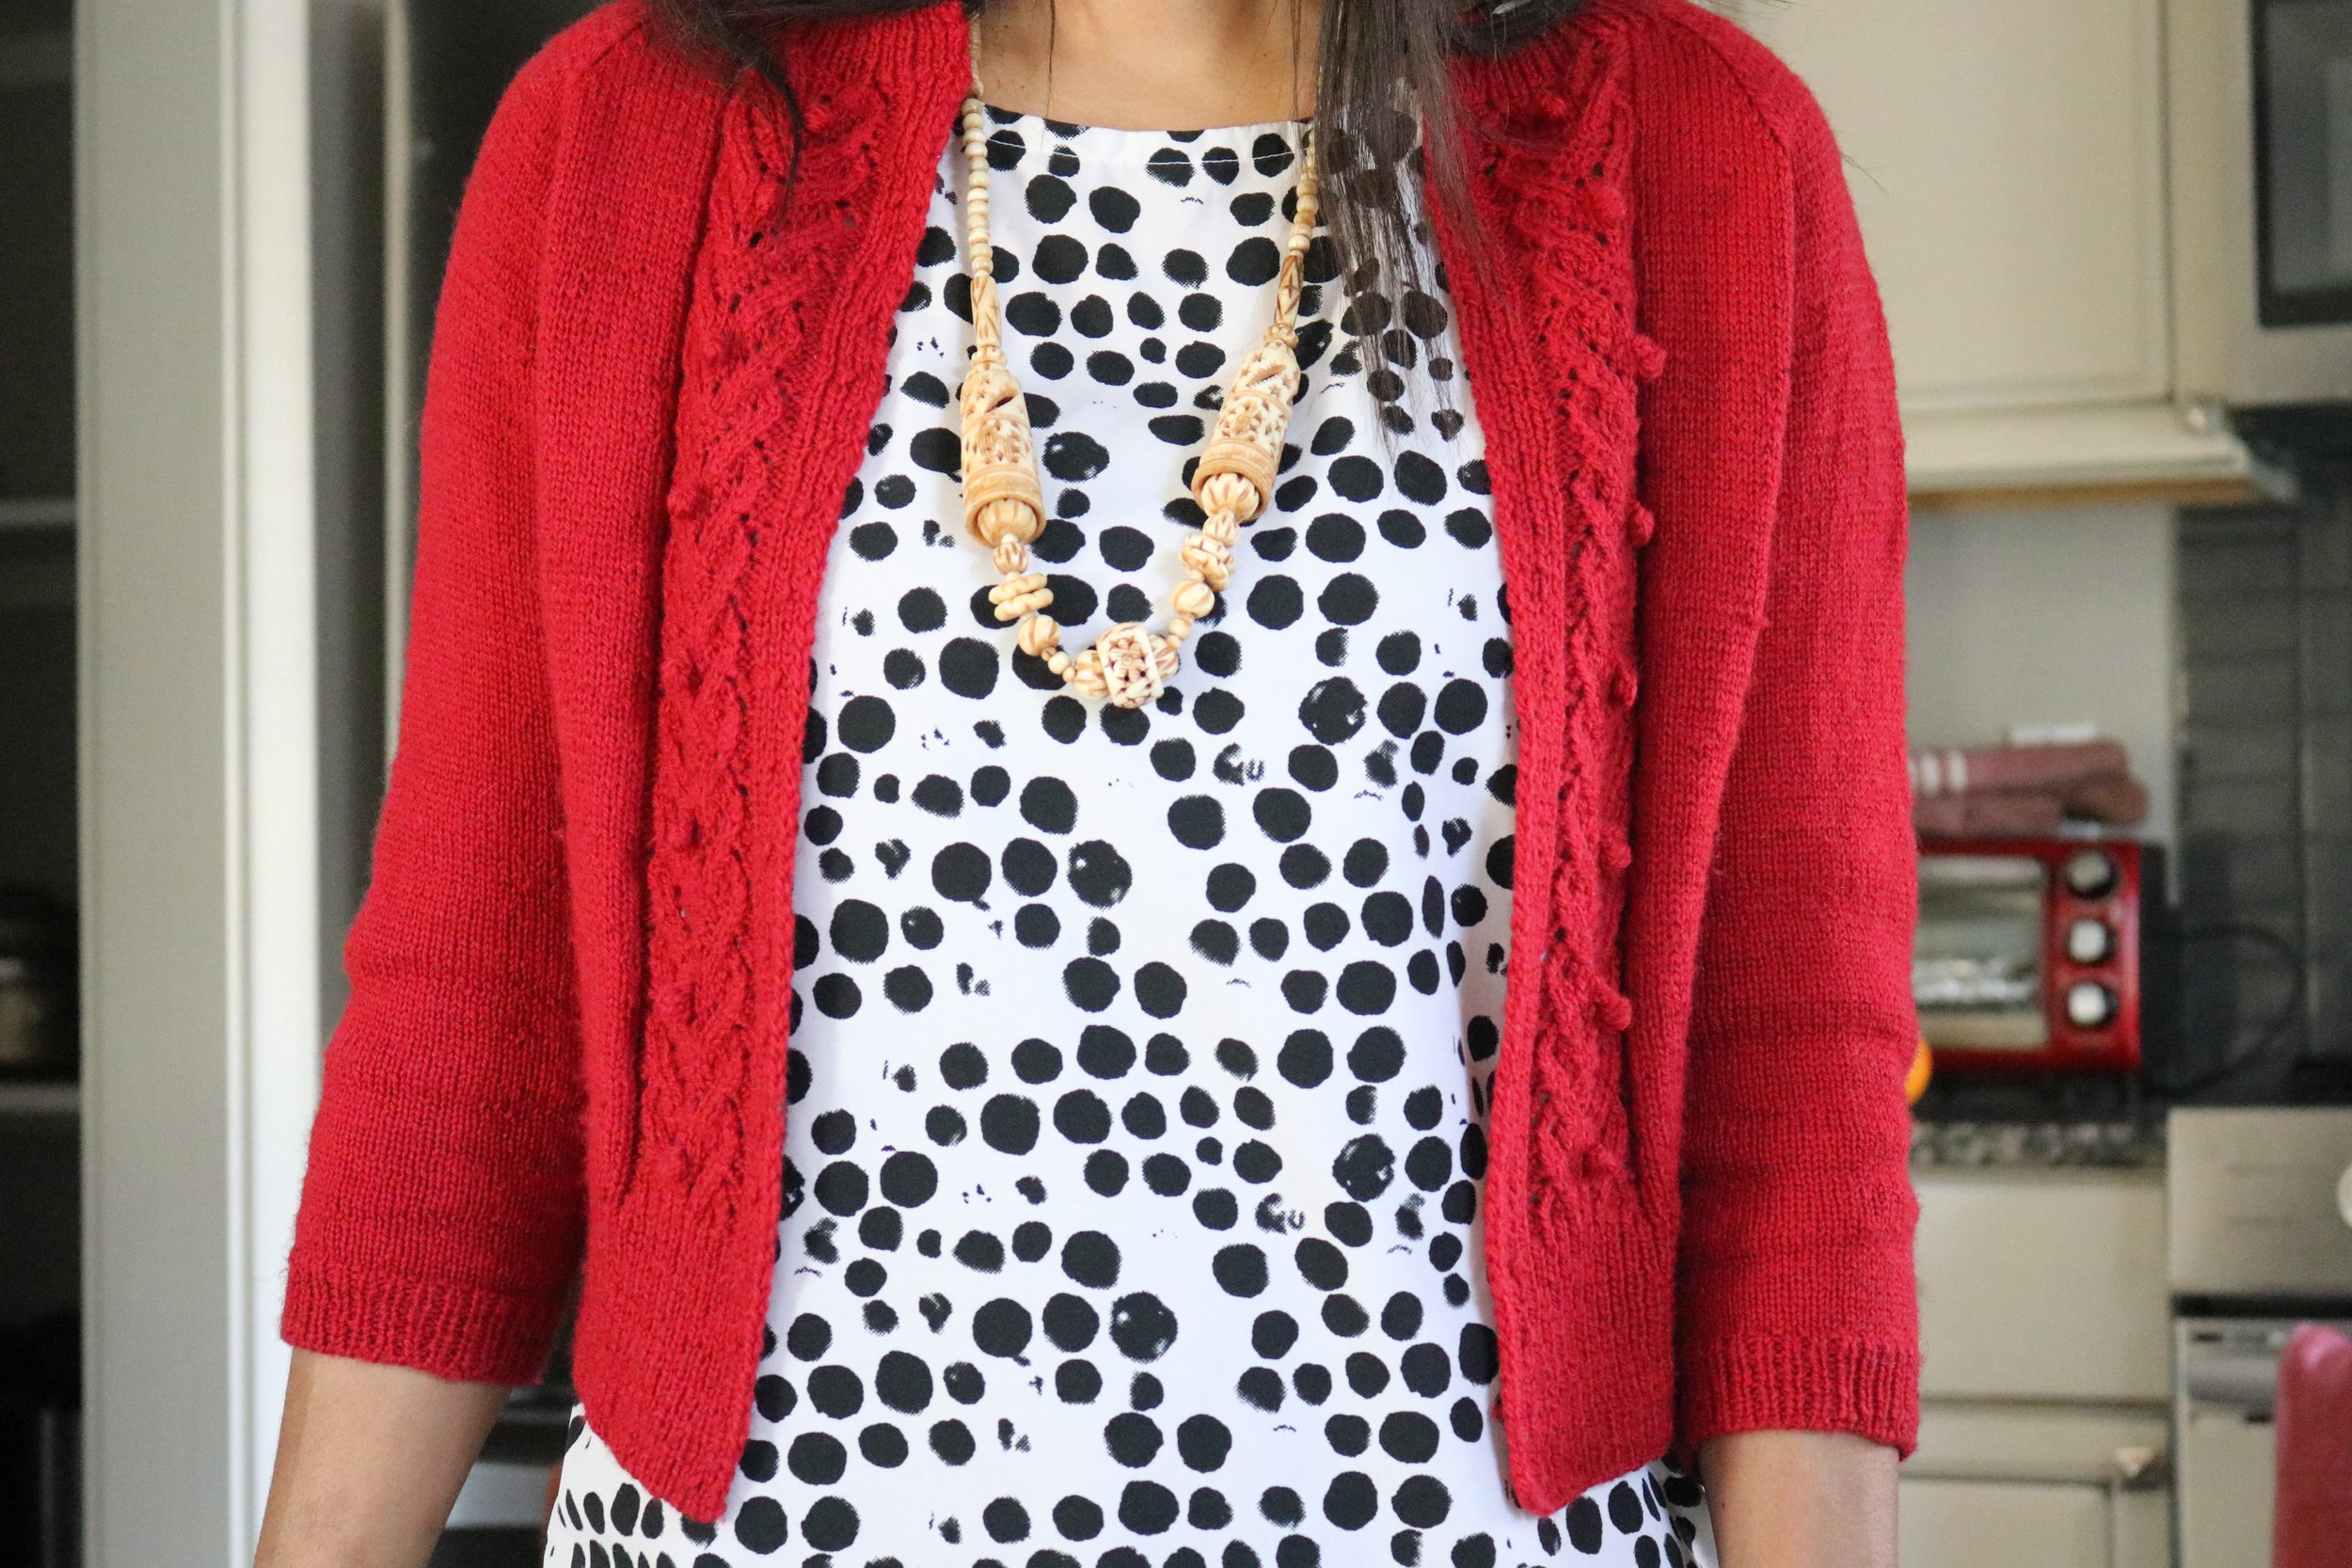
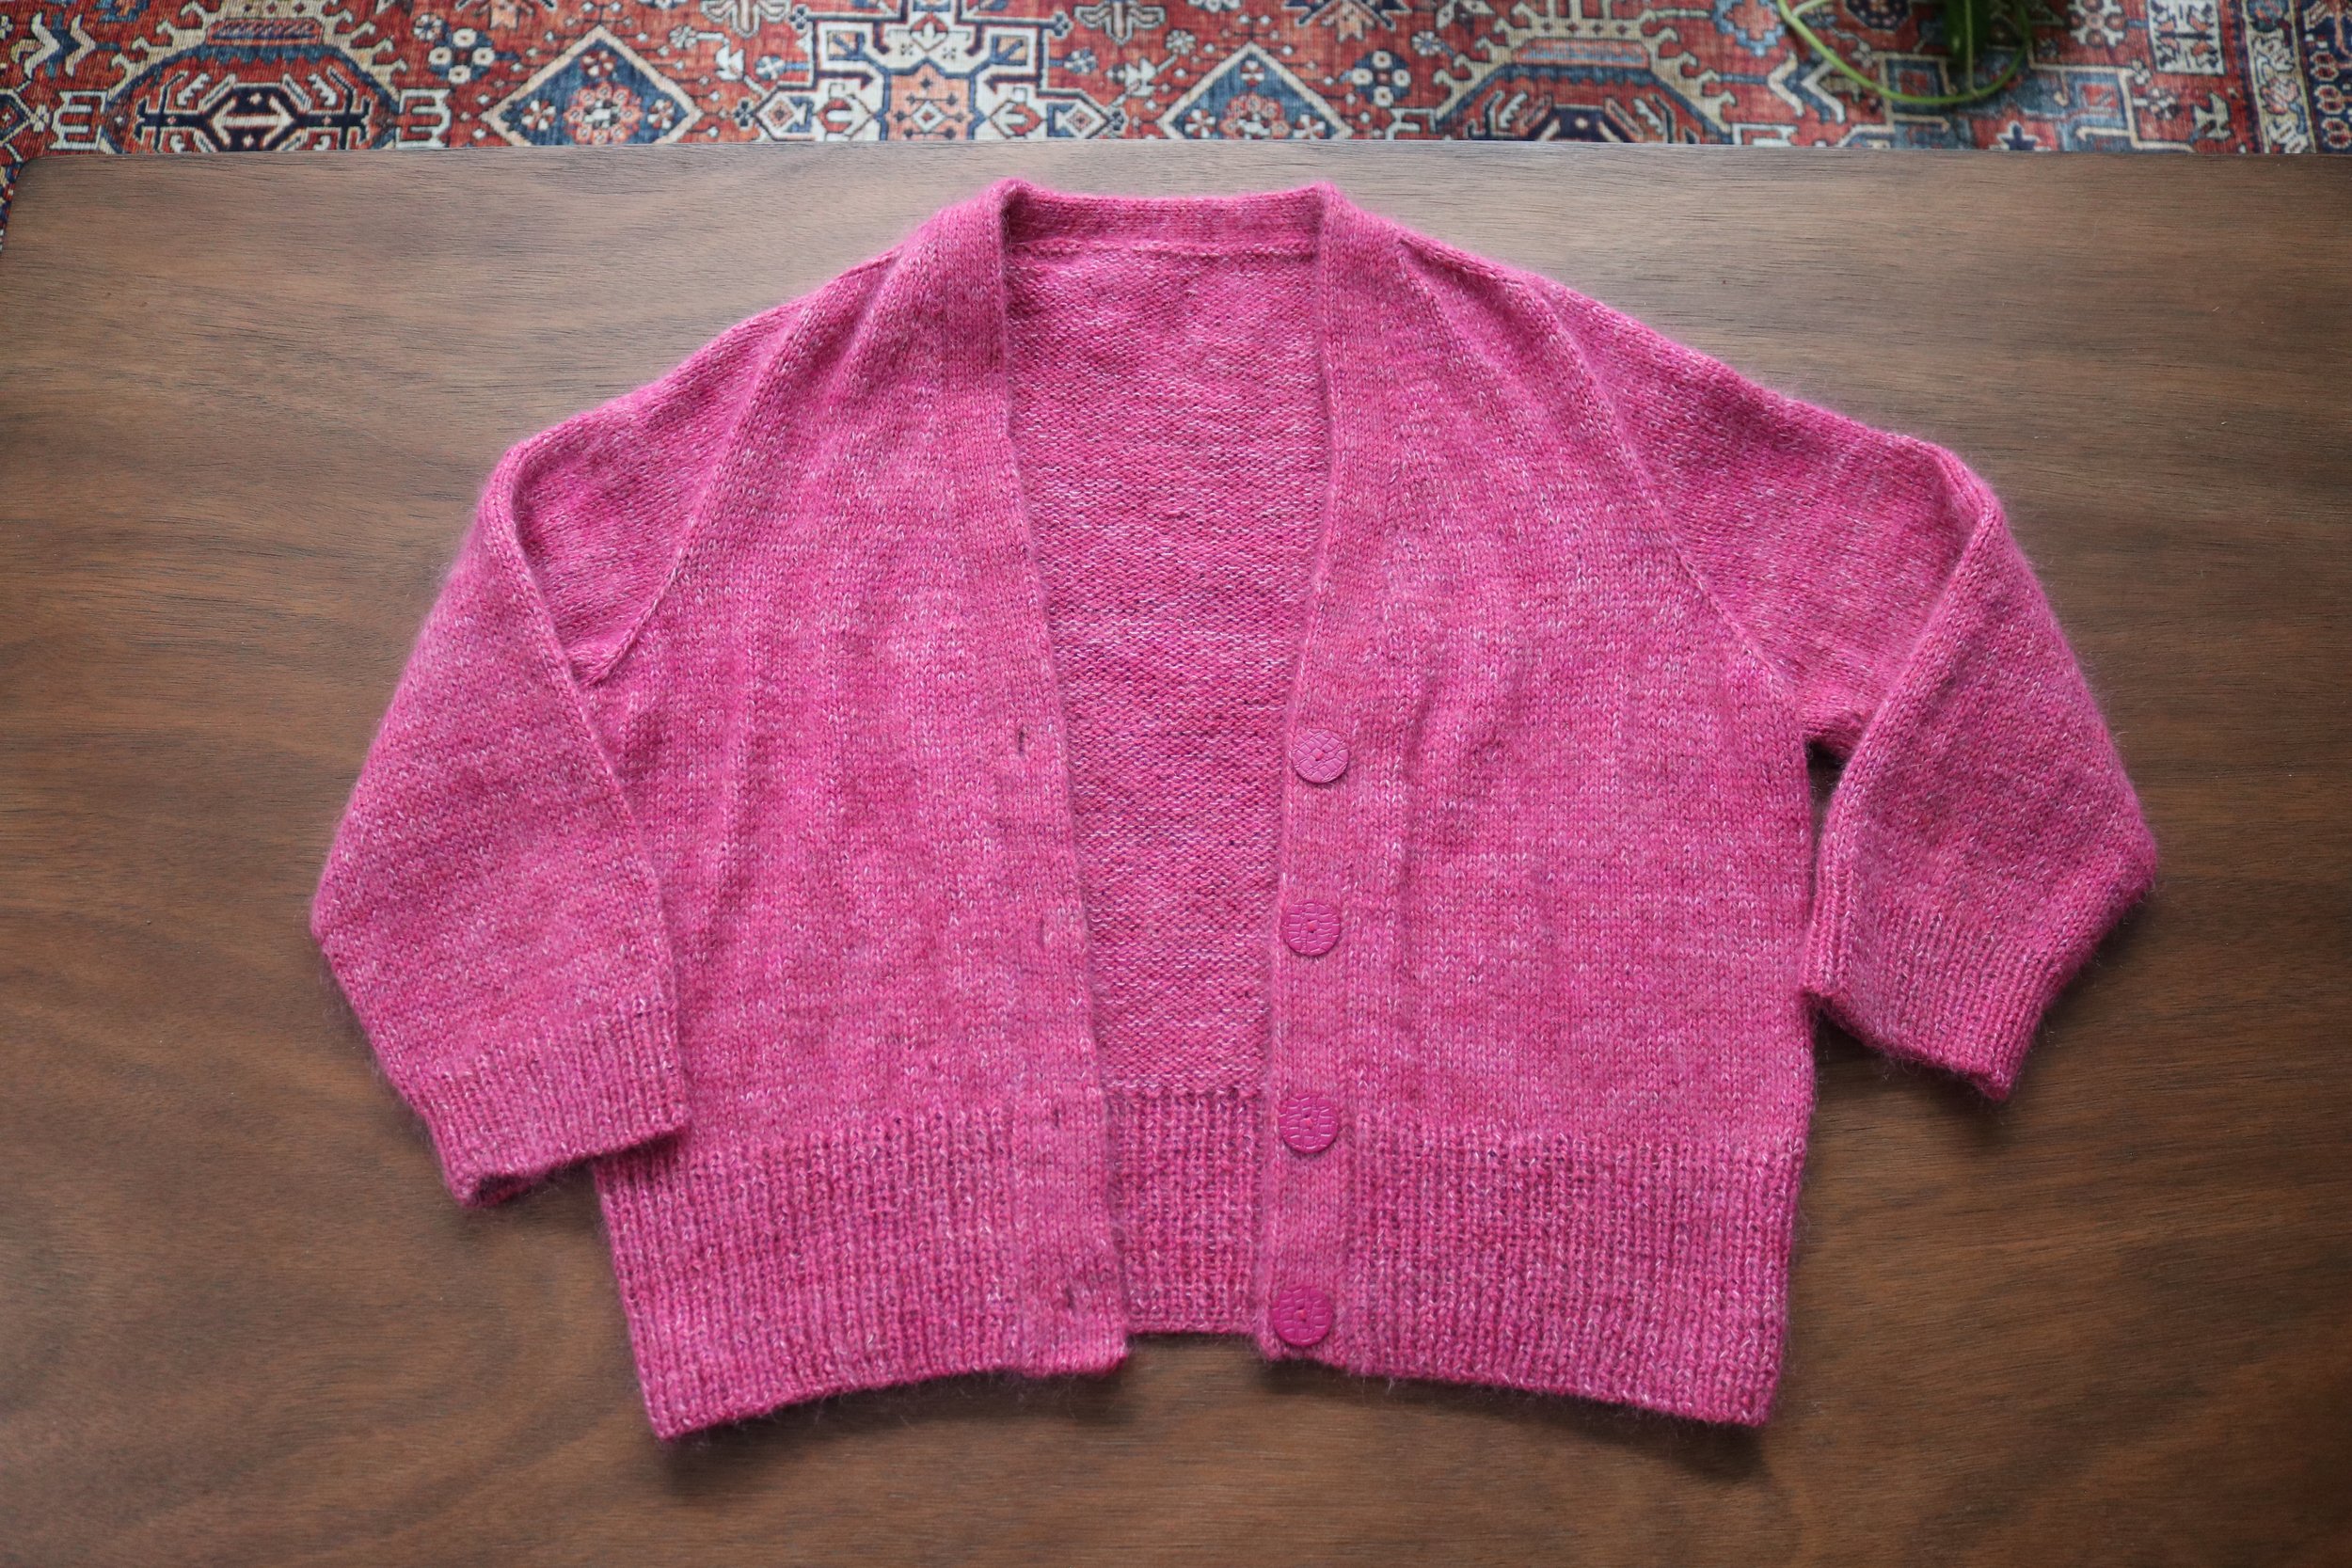
| Pattern Name | April Cardigan |
| Designer | Petite Knits |
| Measurements | 5'4" // B: 35, W: 26.5, H: 38.25 |
| Pattern Size | XS |
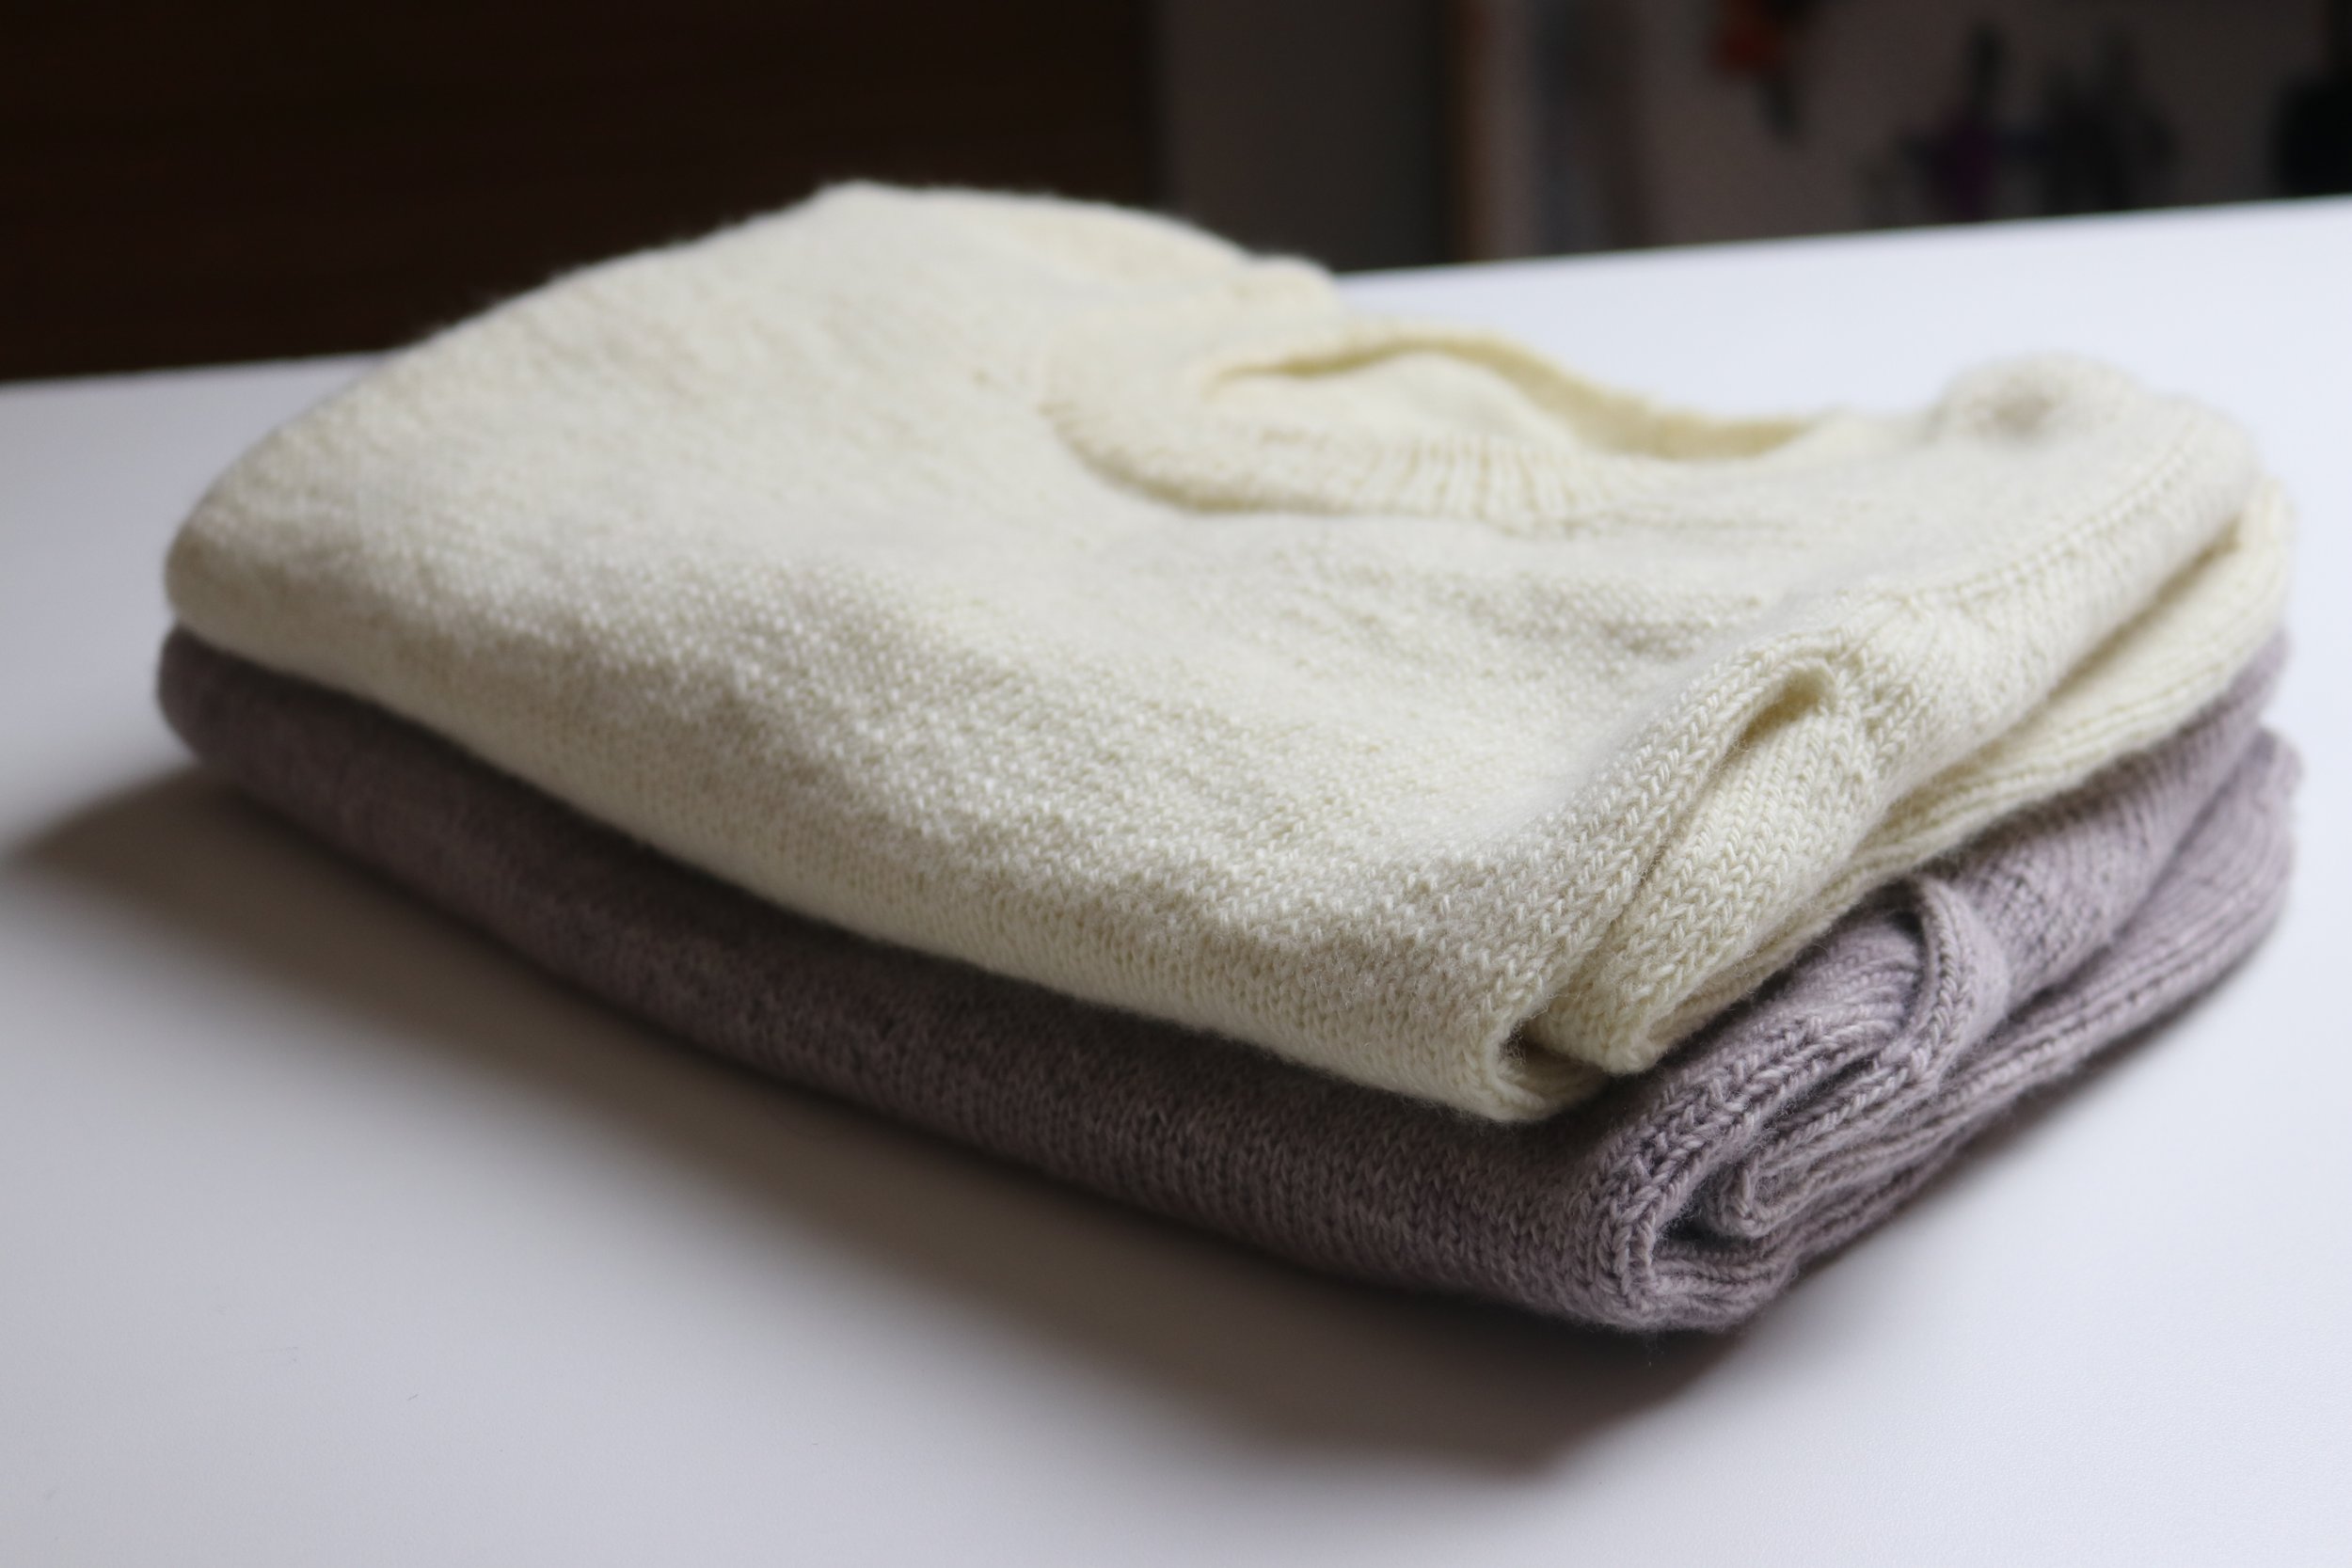
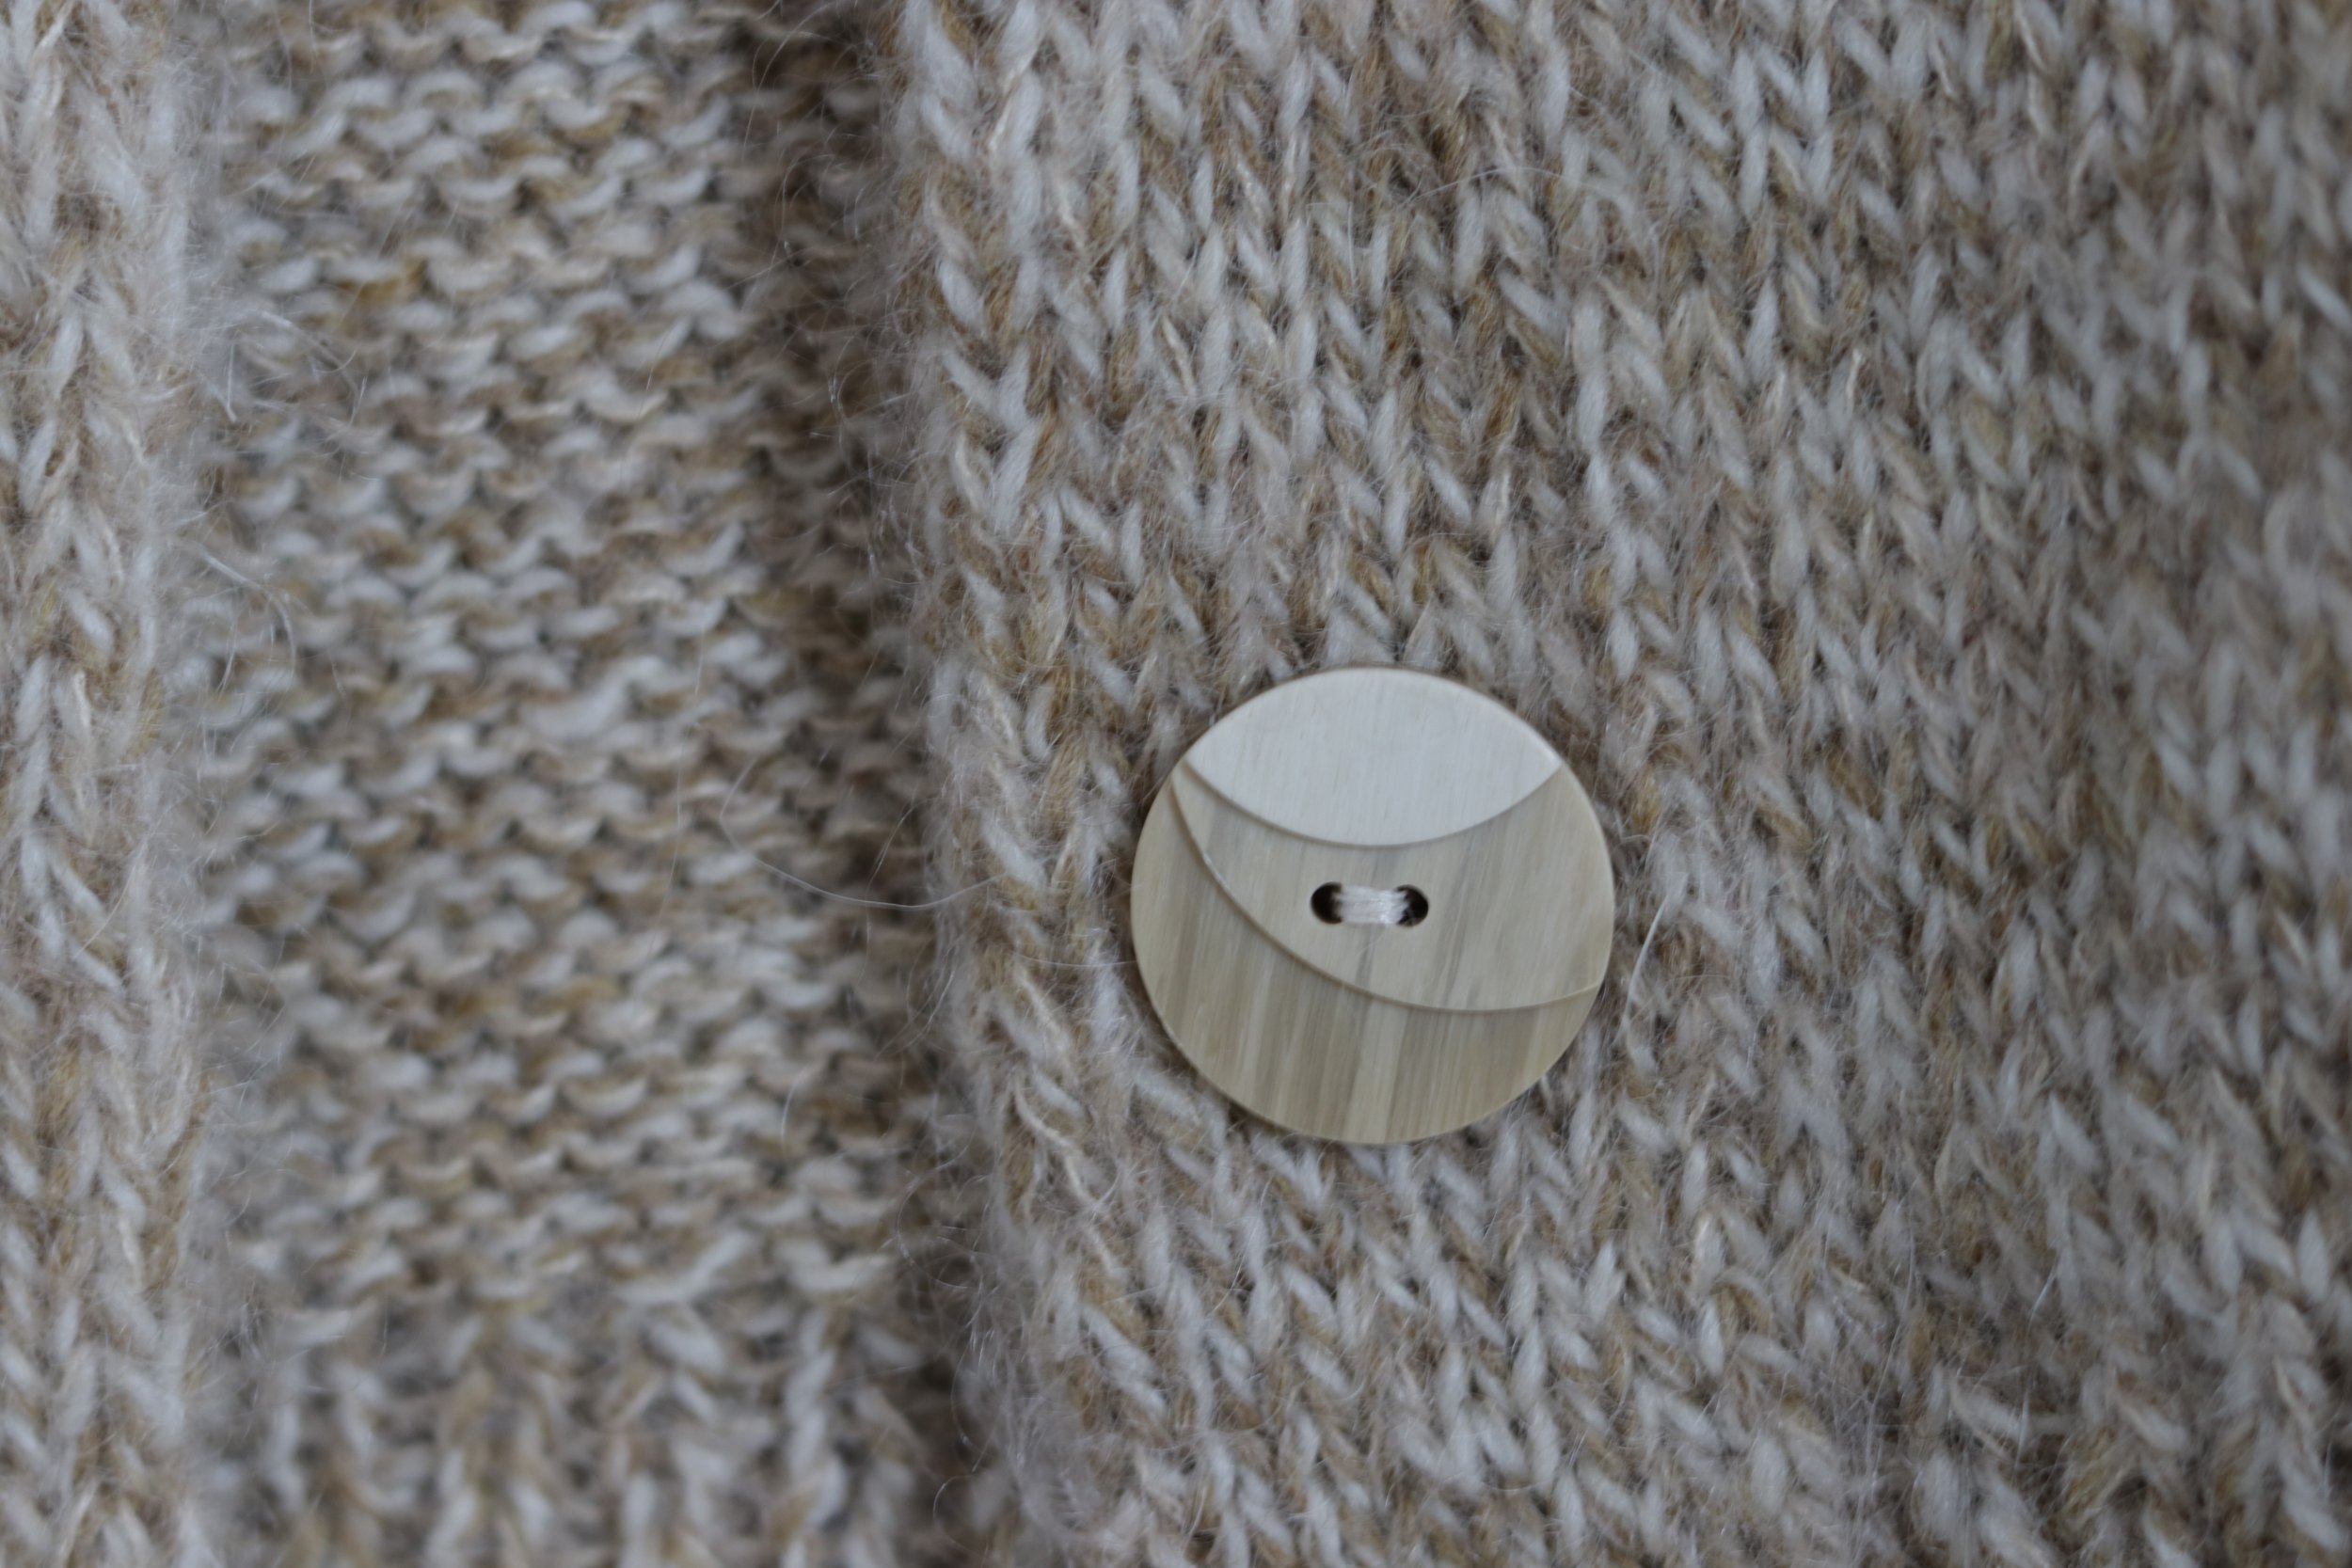
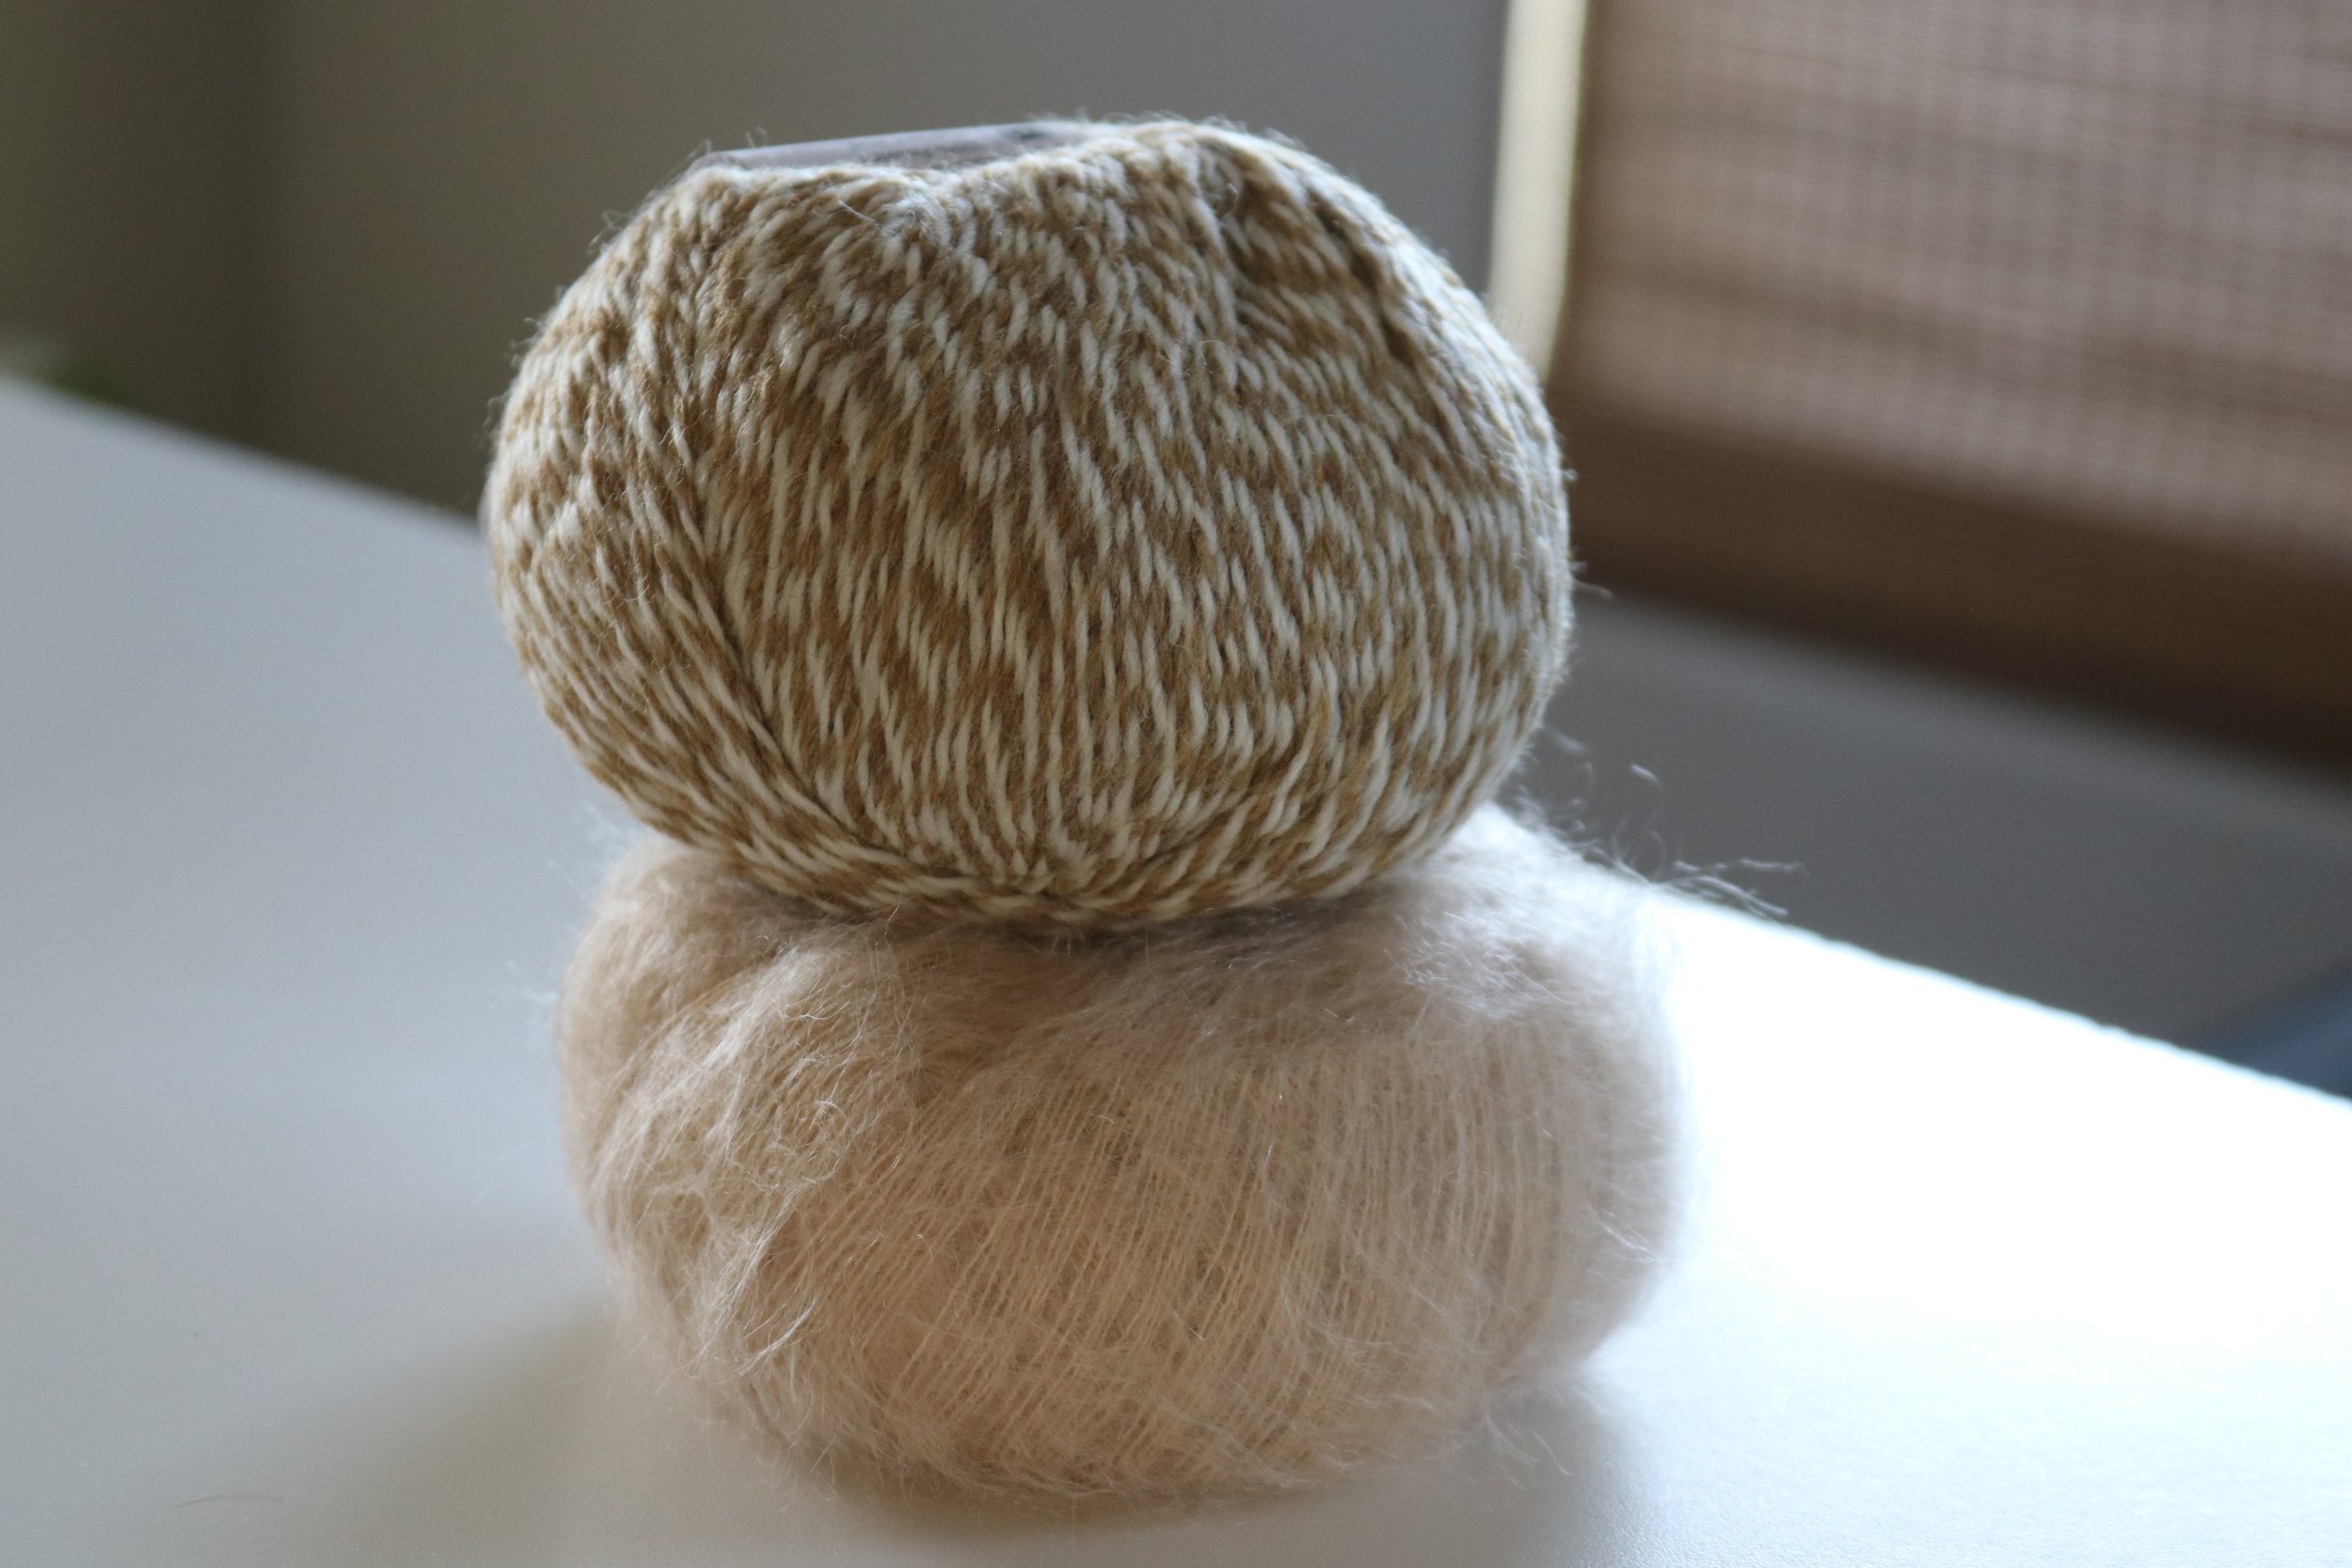
| Yarn | Camel Palette Twist(100% wool) // Oat Aloft Mohair (72% Super Kid Mohair and 28% Silk) HELD TOGETHER; 4 LaMode 22mm white, beige, and camel colored buttons |
| Needles | US 6 (4 mm) body // US 4 (3.5mm) hem and cuff, US 2 (3.0mm) button bands/collar, 40" Circular |


NOTES
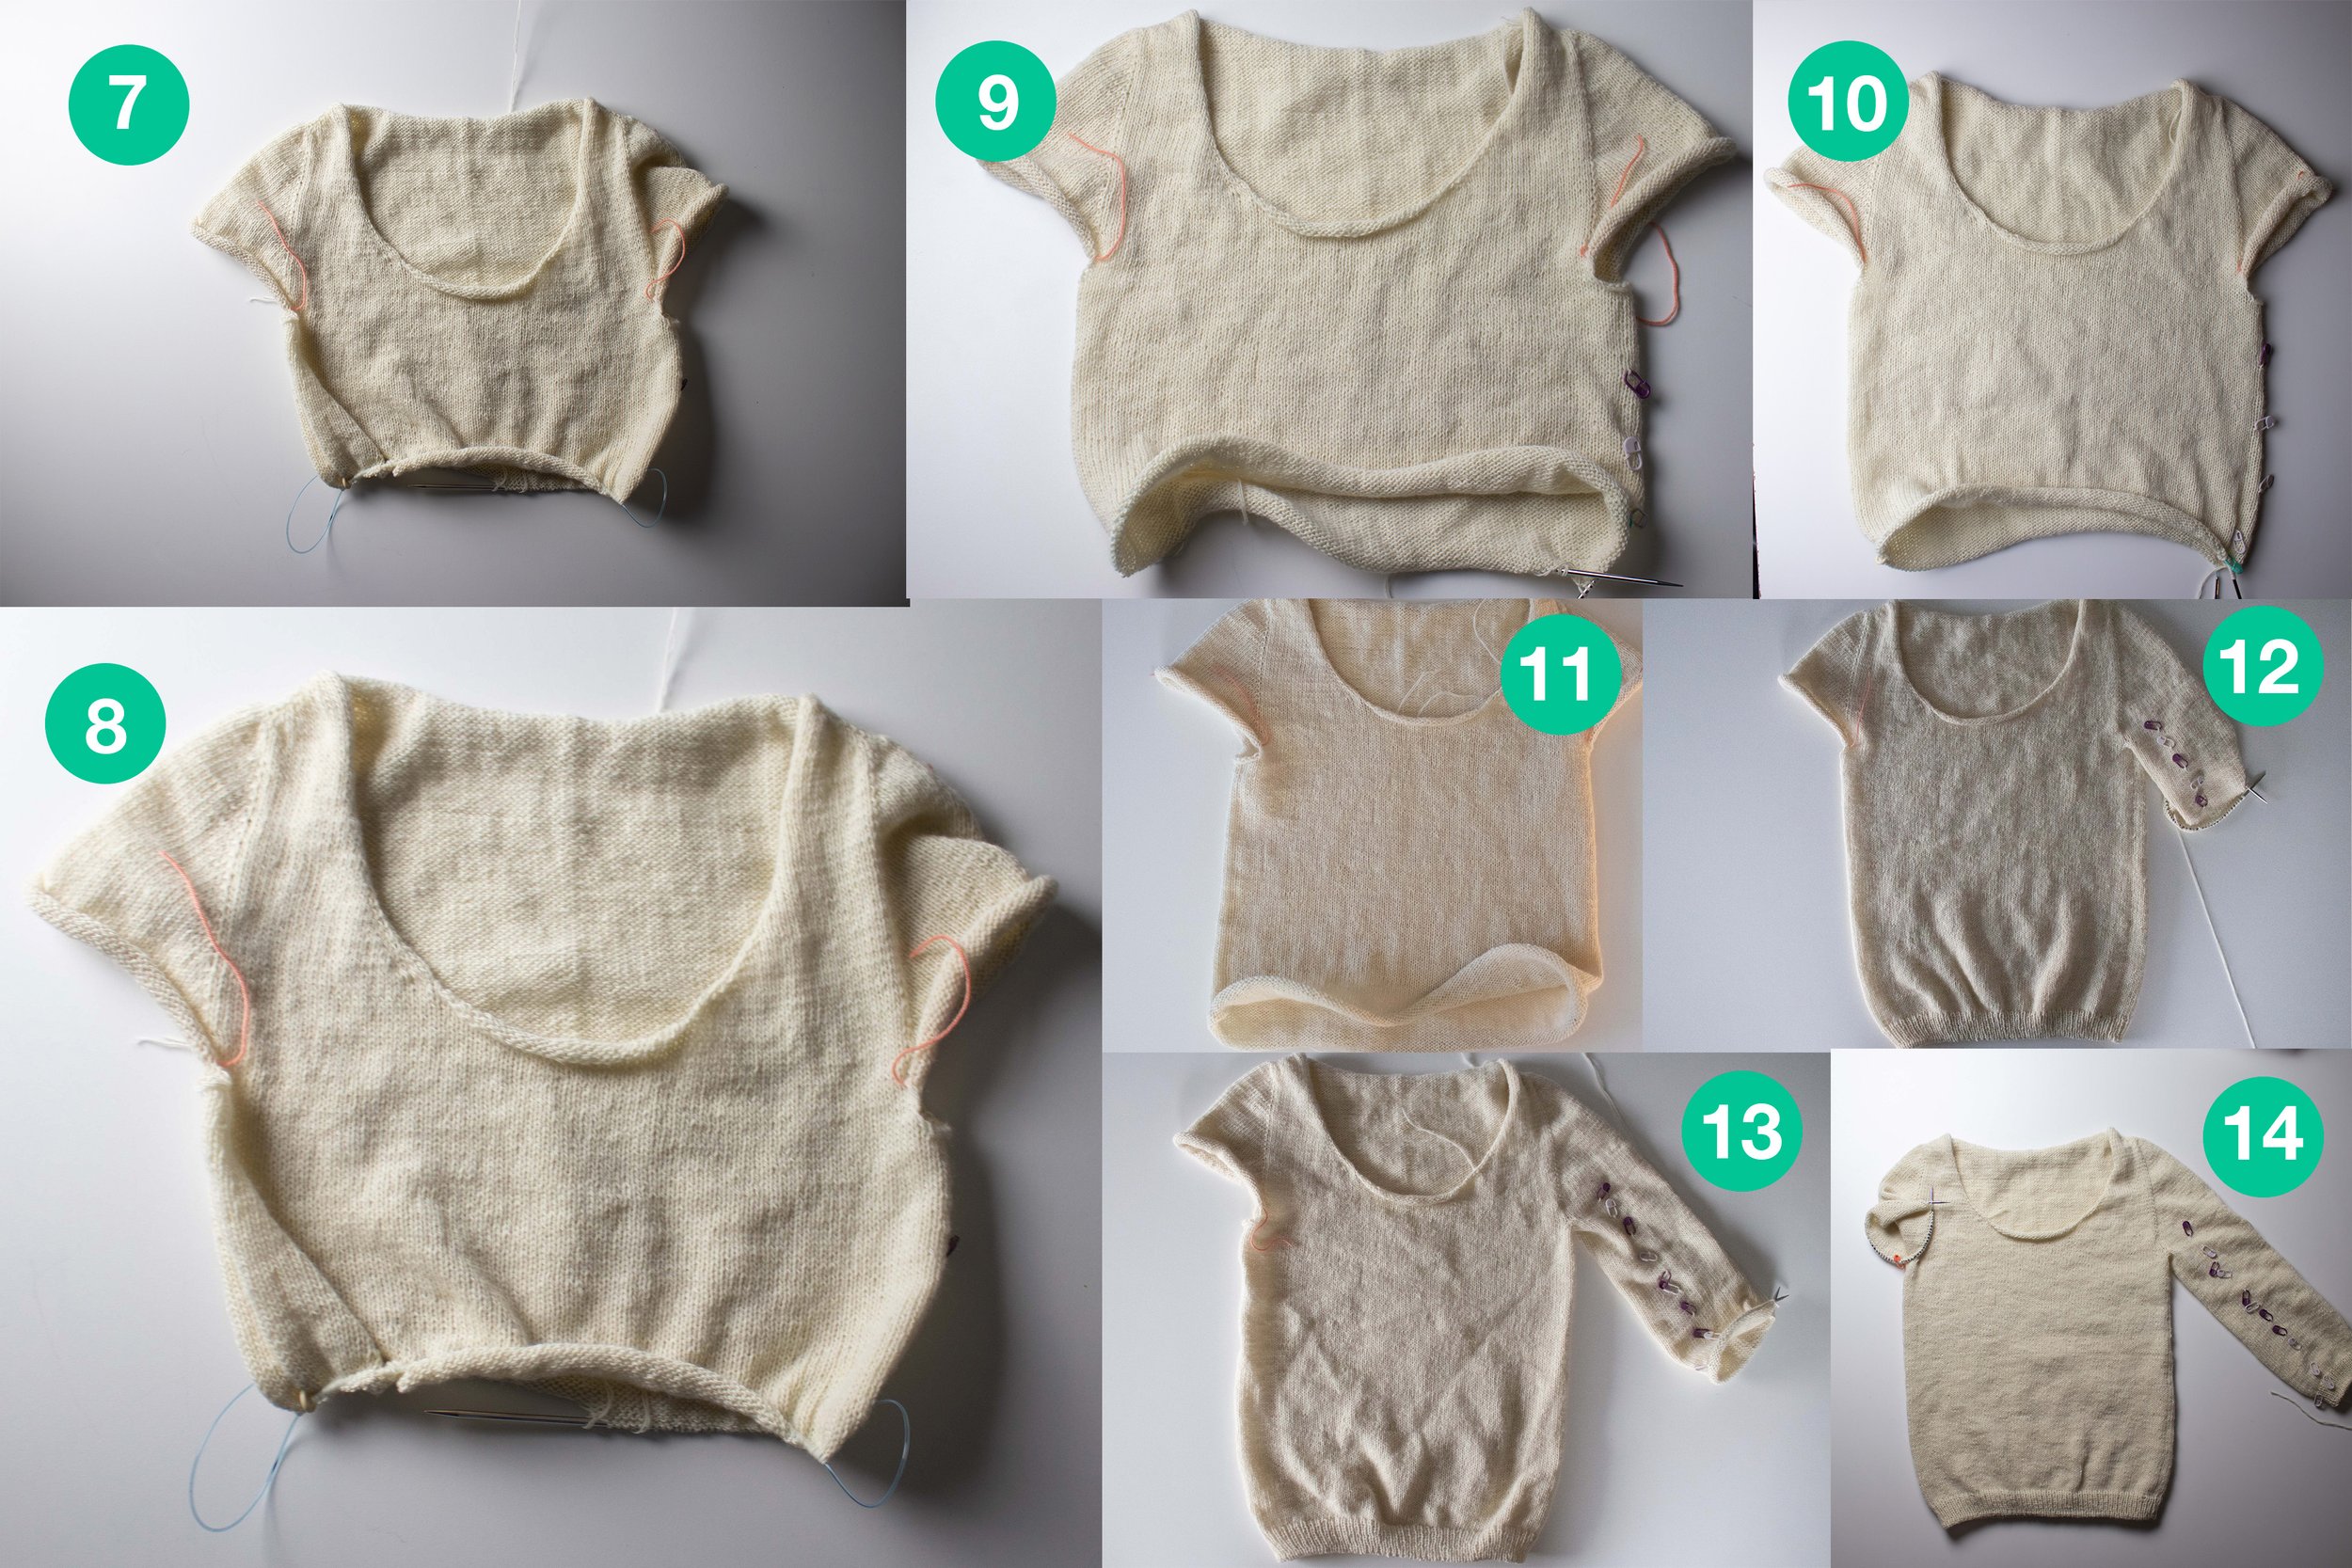
This is my second April Cardigan. As predicted, this is fast becoming my TNT cardigan pattern. This pattern is worth every pattern. I kept my modifications from my first April Cardigan. I decided to go down a size to XS.
MODIFICATIONS
TIP: I only used the fingering weight yarn (not the mohair held double with the fingering weight yarn) for the Italian Bind Off. This helped the yarn not tangle as I worked with a very long tail for sewing the bind off.
Button band: Instead of doing a button band with ribbing, I decided to knit the button band from the Champagne Cardigan. That button band is double knit and adds a nice finished look to the final cardigan.
RESOURCES
Knitting Increase Calculator // Website
No Holes For Sweater Sleeves // Suzanne Bryan // Youtube
Tubular CO in the Round (1x1 Ribbing) // Knitting with Suzanne Bryan // Youtube
Difference between Italian Bind Off vs Tubular Bind Off // Knitting with Suzanne Bryan // Youtube
Kimmie Munkholm // Champagne Cardigan Button Band + Buttonhole // Youtube (Button Band) + Youtube (Buttonhole)
Double Knit Button // Cotton Gin and Tonic // Part 1 (Youtube) & Part 2 (Youtube)
Attaching Vertical Button Bands // Knitting the Stash // Youtube
Handknitter’s Double Knit Button Band // Into the Wool // Website
Covered button tutorial // KDD & CO // Website
Final Thoughts
For some reason the button band on this version feels perfect - buttoned or unbuttoned.