PROJECT DETAILS
| Status | FO |
|---|---|
| Started | 6/8/2022 |
| Completed | 7/16/2022 |
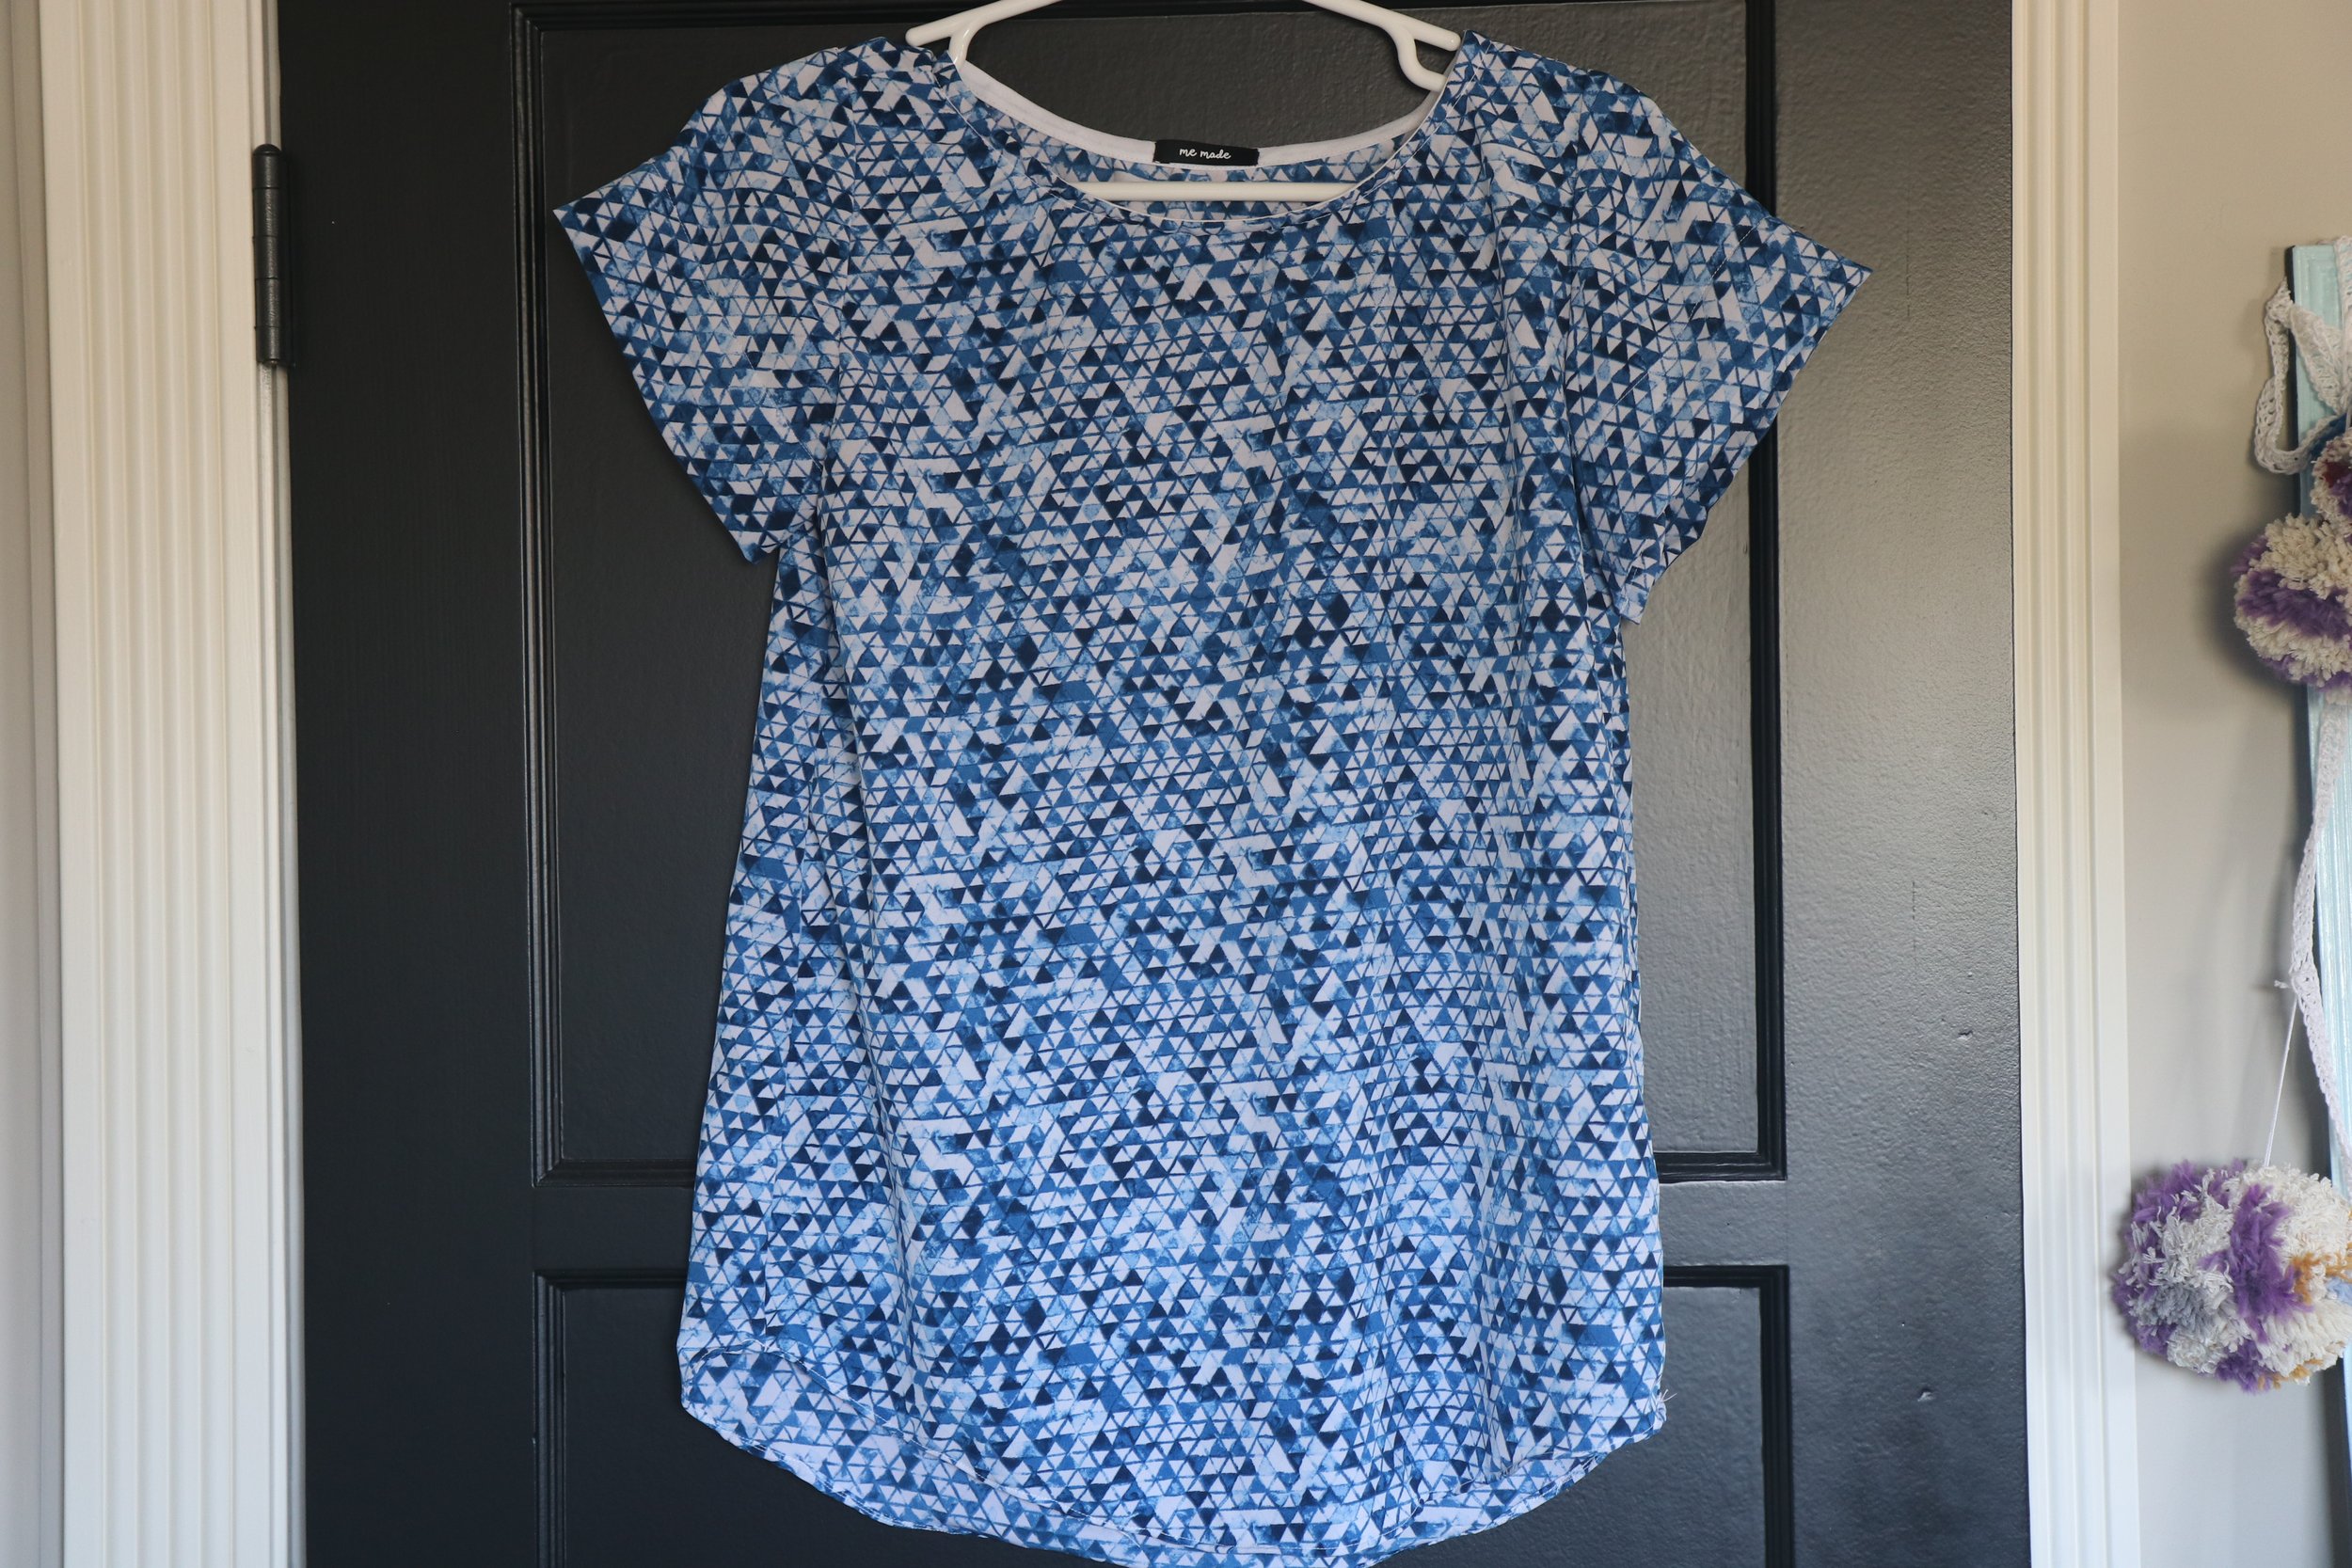
| Pattern Name | Tip Top Tank |
| Designer | Maker Maker |
| Size | M |
| My Measurements | Bust: 35" Waist: 27" Hips: 38.25" |
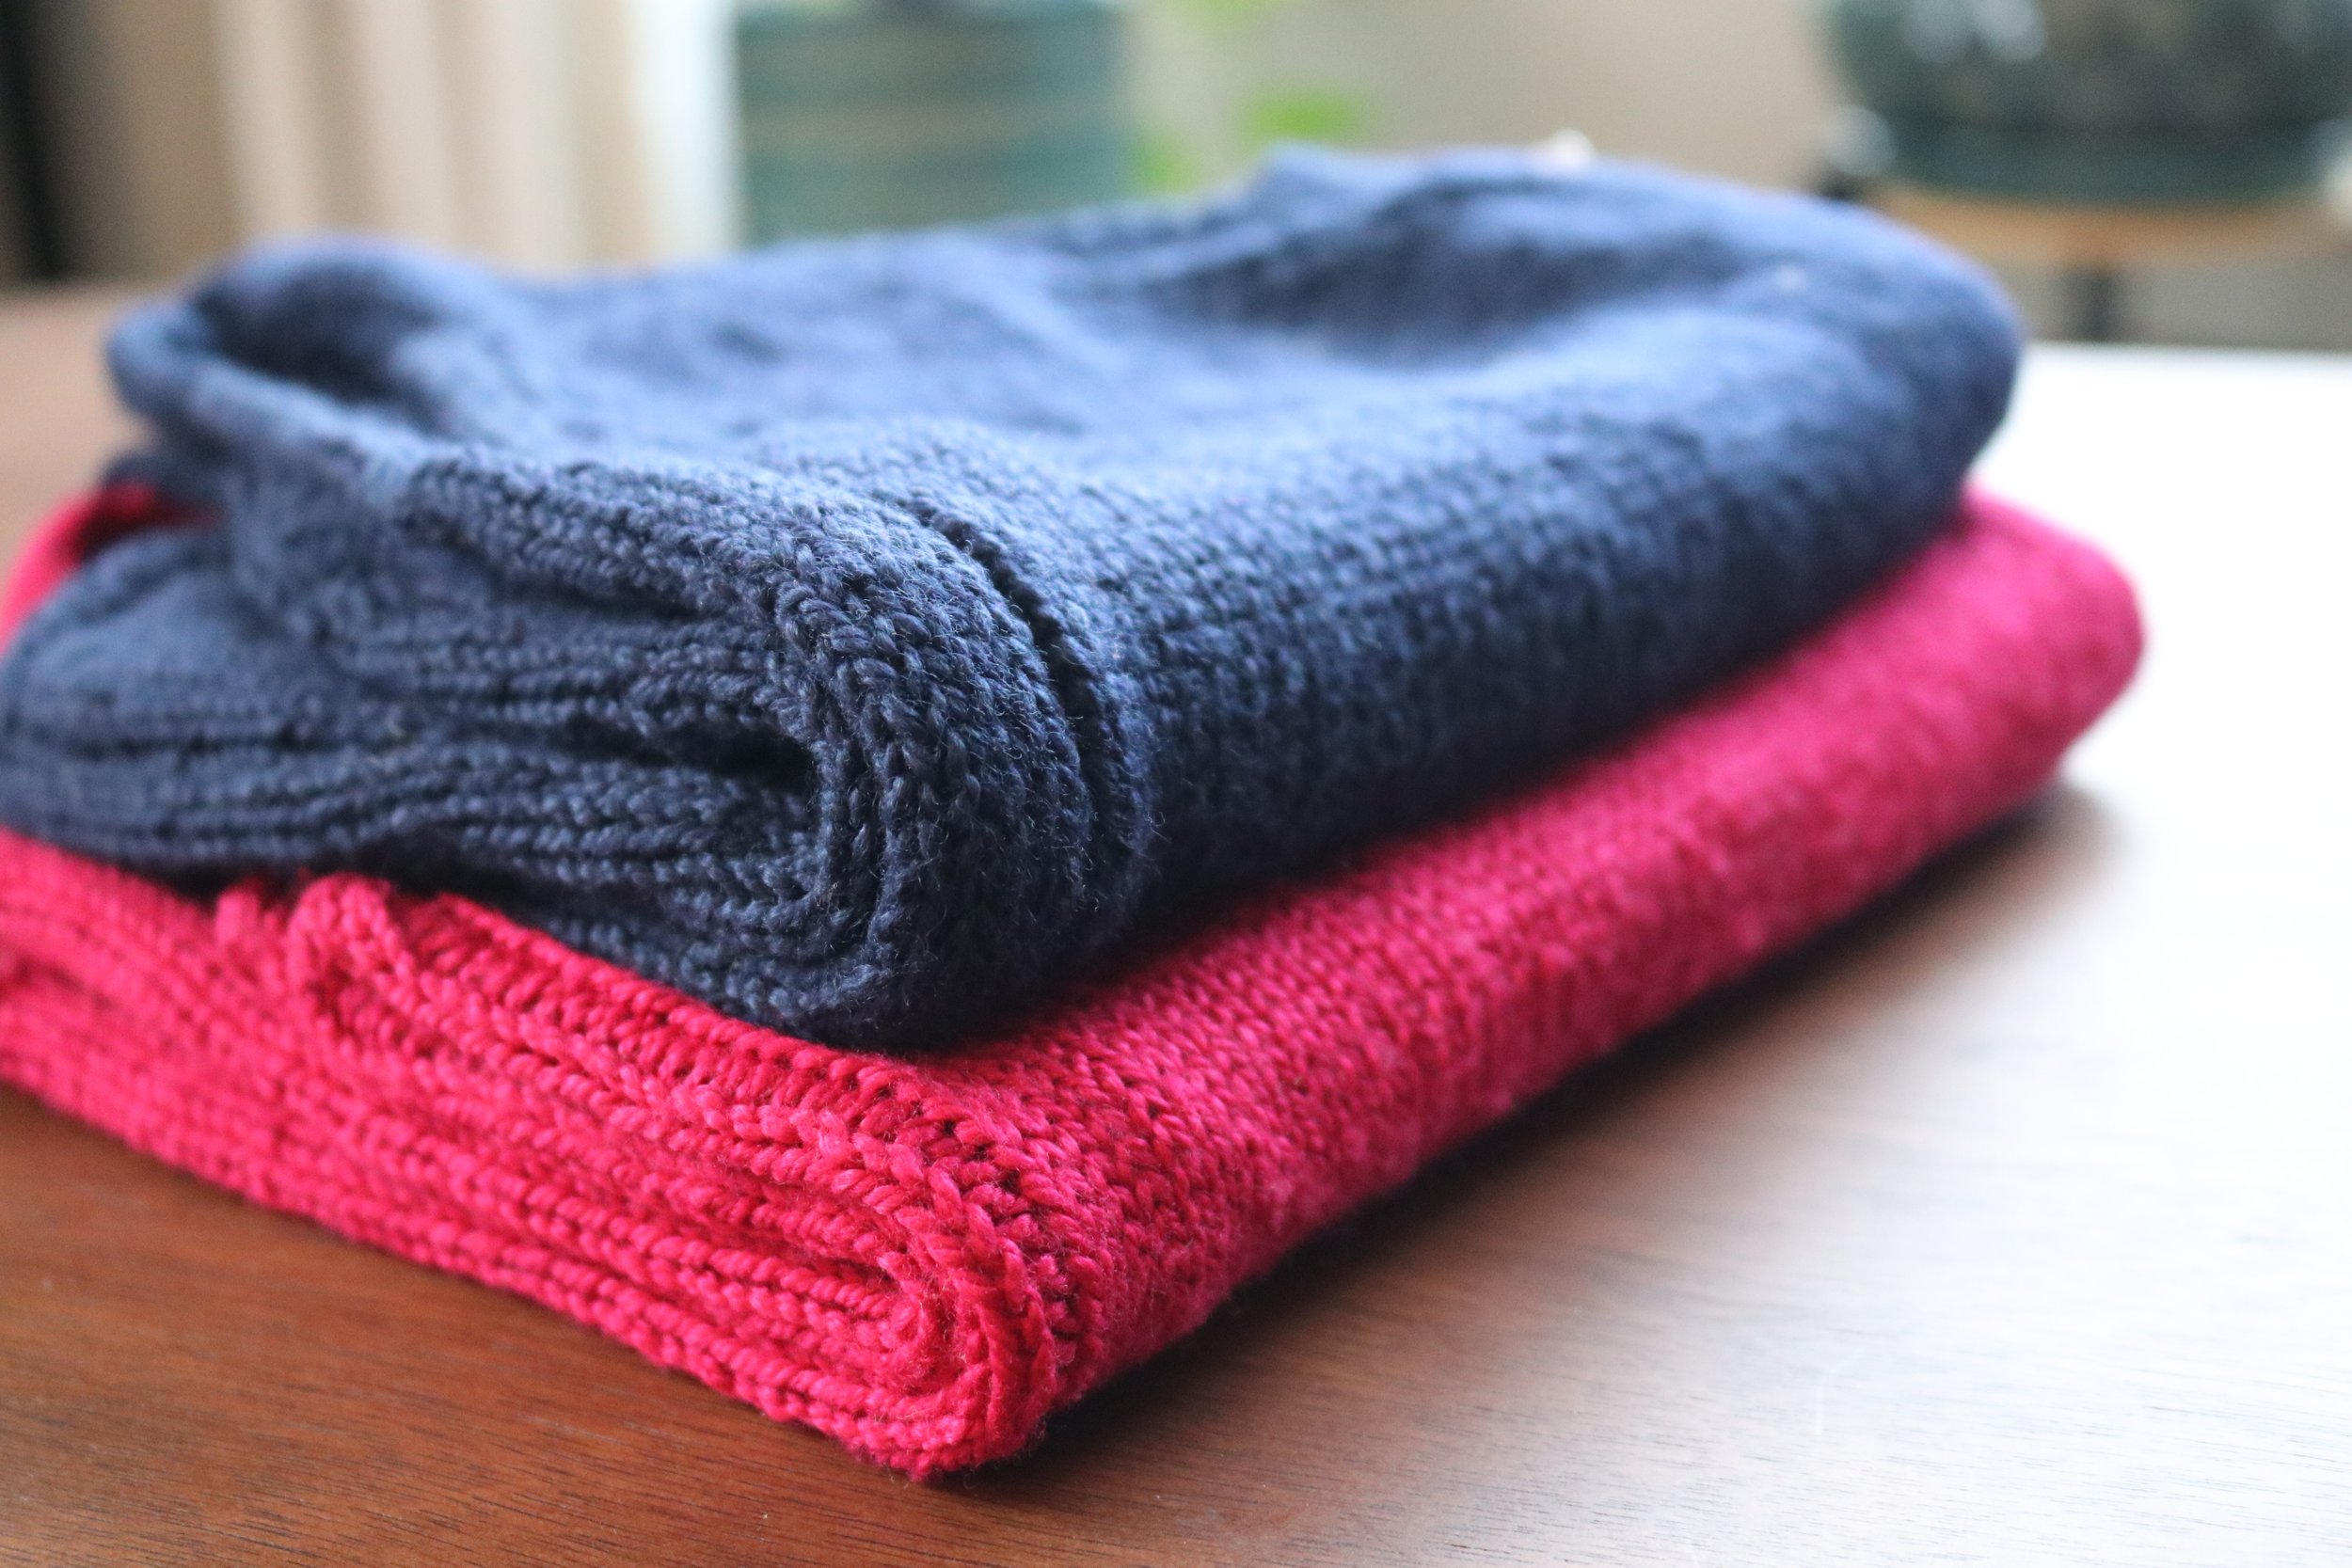
| Yarn | Galileo // Sport Weight Yarn // Knit Picks; 4 balls, 131 yds./50g, Color: Lunar (5623) |
| Needles | US 3 (3.25mm) // US 4 (3.5mm) 40" Circular |


NOTES
This is my second Tip Top Tank, and I’m sure there will be more.
MODIFICATIONS
1x1 tubular cast on for both hems
Used Andrea Mowry’s Cast On
After Cast On, 1st Row: Purl, Slip 1 knit stitch (as if to purl); 2nd Row: Knit, Slip 1 purl stitch; Row 3: Purl, Slip 1 knit stitch (as if to purl); Row 4: Knit, Slip 1 purl stitch Be sure that the stitches (purl and knit) are not twisted on the needle. If they are knit, purl, or slip into back leg to untwist.
Used a genius modification by Recreates (on Ravelry) to raise the back by 6 rows
I also added some extra rows for the length.
RESOURCES
Tubular Cast On (Flat) // Andrea Mowry // Youtube
Tubular Cast On // Suzanne Bryan // Youtube
Ravelry User Recreates’ Tip Top Tank Modification to the back
Three Needle Bind Off:
Final Thoughts
Another lovely summer top. I look forward to wearing this top in 2023.